Beginning your Meta Ads Journey

This comprehensive guide will show you how to begin advertising on Meta Ads. We will run through the essentials needed to get started.
Starting Your Journey with Meta Ads: A Comprehensive Guide
In order to begin your Meta Ads journey, there are a few requirements. For users to advertise, Facebook mandates the following:
- Possession of a Facebook Page: This is essential for businesses or brands looking to establish an online presence.
- Roles on Other Pages: If a user wishes to advertise for a page they don't own, they must be assigned either the admin, editor, or advertiser role on that Page.
- A Valid Payment Method: Every advertiser must set up a recognized payment method.
Setting Up Your Meta Ads Manager
After you have ensured these requirements have been met, we can begin by setting up a Meta Ads Manager account. To do this:
- Go to business.facebook.com/overview.
- Click Create Account.
- Enter the name of your business, your name and your work email address and click Next.
- Fill out any business details required.
- Click Submit.
Connect your Pixel
Follow docs: https://avantifys-organization.gitbook.io/avantify-pixels/facebook-pixels/create-and-add-your-pixel-s
Congratulations, now your Pixels are connected to Shopify for your business! This will allow you to leverage the power of both platforms and increase your campaign effectiveness.
Defining Your Advertising Goal
The next step is defining your advertising goal which should align to your business objectives and act as a guide for your overall advertising strategy. A few common goals are:
- Increasing website traffic
- Generating leads or conversions
- Boosting brand awareness
- Driving online sales
Campaign Setup
Now it's time to set your first campaign up. We recommend beginning with a conversion campaign which typically follows a Sales driven advertising goal. Within a campaign you can have multiple Ad Sets which are different types ads and their placements. This is also where you will assign a budget, audience and targeting options as well as campaign length.

To begin your conversion campaign:
- Click Campaigns on the left navigation menu in Meta Ads Manager.
- Click the green '+' button to create a new campaign.
- Select your campaign objective, in this example we will use Sales.
- Next you will be asked what type of campaign you would like:
- Advantage +
- Manual Sales Campaign
Advantage + Campaign Set Up
Selecting an advantage + campaign will provide you with preset settings such as automatic placements and the lowest cost bid strategy. Whilst these may seem helpful and are worth exploring, they may not always be the best for your campaigns. Here is the advantage + set up process:


Manual Campaign Set Up
Selecting a manual campaign set up will allow you to have more control over your campaigns by you choosing to select where your campaigns are shown, the budget behind them as well as the format. Here is the manual campaign set up process:


What are the main differences between Manual and Advantage + set up
Manual
- Manually input and split audiences at an ad set level.
- Manually select ad placements.
Advantage +
- Require less user input during campaign creation.
- Simplified audience and targeting options.
- Combine prospecting and existing customer audiences under one campaign.
Congratulations, you have now successfully set up your first campaign with a budget assigned to it.

How to create a Tiktok Pixel in 2024 | Shopify

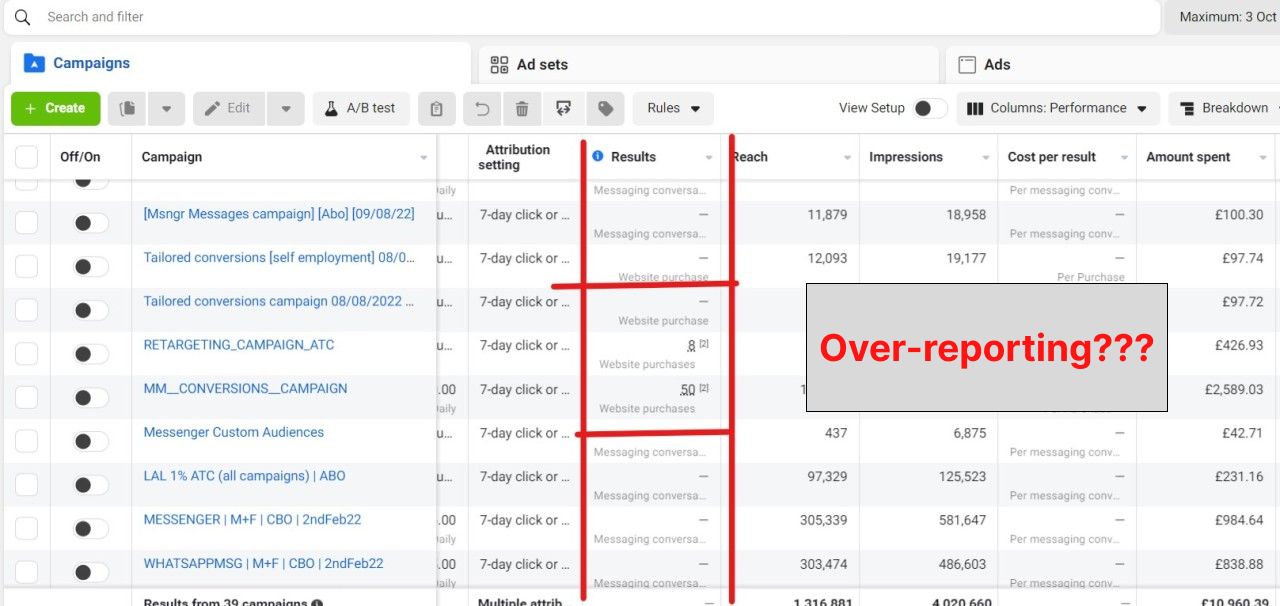
How to fix Over-reporting of purchases in Facebook Ads

Comparing Shopify Facebook Pixel Apps: Why Avantify Stands Out

Unleashing the Power of Pixels in Advertising: The Complete Guide


